

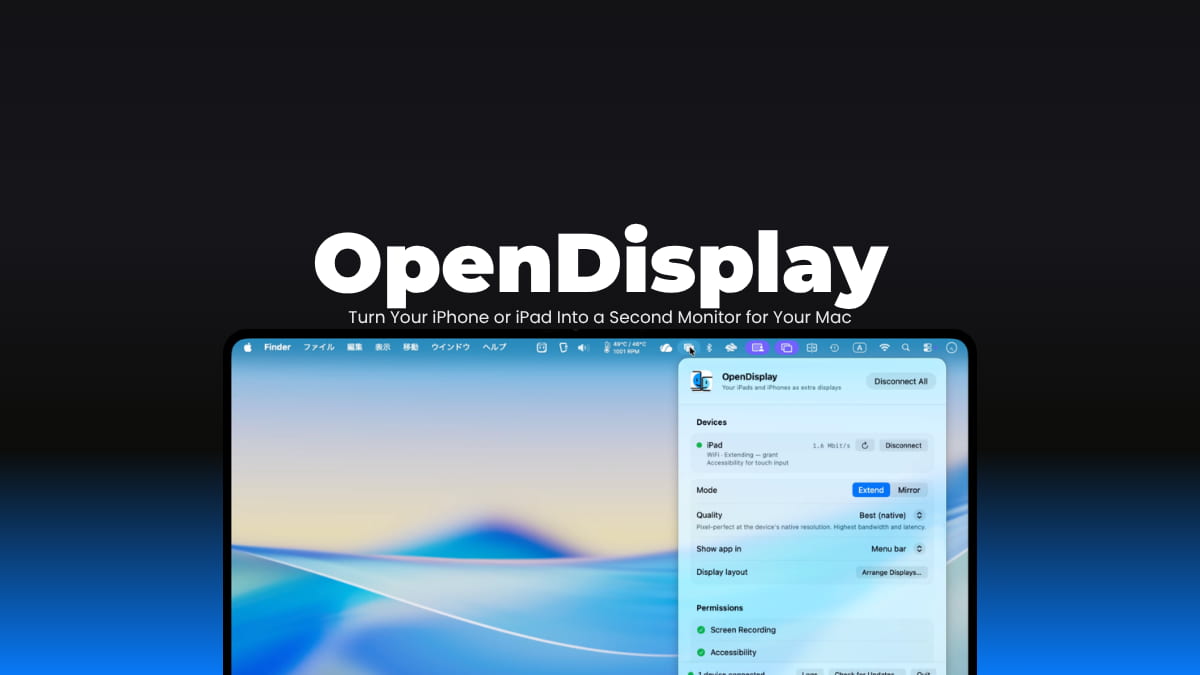

File Info
| File | Details |
|---|---|
| Name | OpenDisplay |
| Version | v1.19.0 |
| Type | Virtual Display / Second Monitor |
| Size | 2MB |
| Developer | Philip Poloczek |
| License | GPL-3.0 |
| Platforms | macOS • iOS • iPadOS |
| Connection | USB • Wi-Fi |
| GitHub Repository | peetzweg/opendisplay |
Table of Contents
Description
Do you have an old iPhone, iPad or Mac sitting around? You can actually put it to good use as a second display.
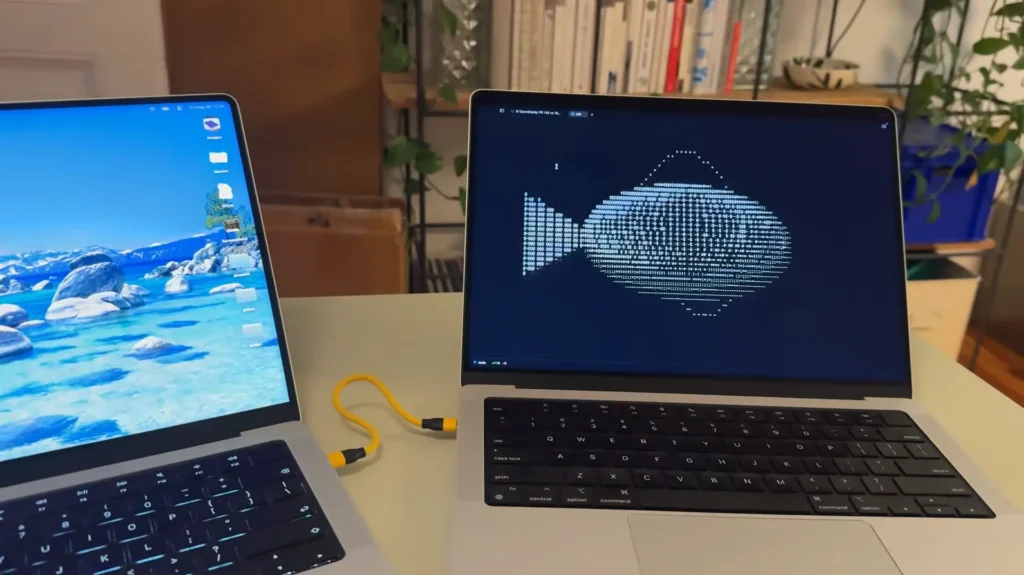
OpenDisplay lets you turn an iPhone, iPad or another Mac into a proper second monitor for your Mac. Instead of simply mirroring your screen, macOS treats the connected device as an additional display, so you can move windows onto it, arrange it alongside your main screen and extend your desktop.
It works over USB or Wi-Fi and you don’t need another subscription or a special display dongle.
Its also free and open source and essentially a self-hosted alternative to tools such as Sidecar, Duet Display and Luna Display, without requiring an account or sending your screen through someone else’s server.
Use cases
- Keep chat apps or notifications on your iPhone or iPad while working on your Mac.
- Put documentation or reference material on a second screen while coding.
- Keep a terminal, music player or monitoring window out of the way of your main workspace.
- Use an iPad as a portable second display when travelling.
- Turn an old MacBook into a second monitor for a newer Mac.
- Use USB when you need the lowest possible latency.
- Use Wi-Fi when you want a cable-free setup.
- Connect multiple supported devices when you need more screen space.
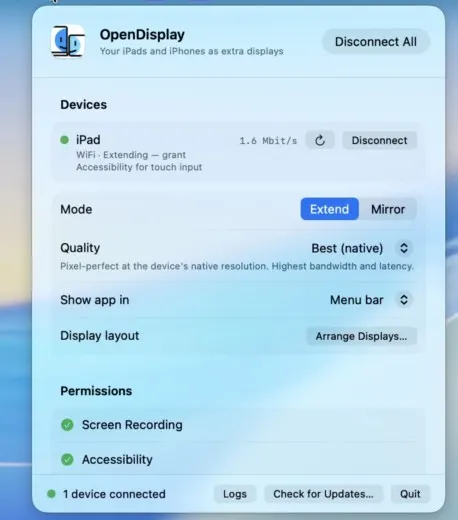
Screenshots and Videos
Features of OpenDisplay
| Feature | Description |
|---|---|
| True display extension | Use the iPhone or iPad as a separate monitor instead of only mirroring your Mac |
| USB connection | Connect directly through a data-capable USB or Lightning/USB-C cable |
| Wi-Fi connection | Connect over Wi-Fi without entering IP addresses. OpenDisplay automatically finds available devices on the same local network, so you can connect without any manual network setup. |
| Retina / HiDPI | Uses the device’s native display characteristics for sharp text and images |
| Touch & scrolling | Use the iPhone or iPad touchscreen to click, drag and scroll through content on the Mac. |
| Portrait & landscape | Use the device vertically or horizontally |
| Spare Mac support | Turn another Mac into a second display using OpenDisplay Receiver |
| Low latency | Uses hardware H.264 encoding and a direct connection between devices |
| No account required | There is no OpenDisplay account or subscription |
| Self-hosted | Screen data travels directly between your devices |
| Open source | The project can be inspected, modified and contributed to |
| Multiple displays | Connect multiple supported devices as separate extended displays |
System requirements
| Requirement | Details |
|---|---|
| Mac sender | macOS 14 or newer |
| iPhone / iPad receiver | iOS / iPadOS 16 or newer |
| Spare Mac receiver | macOS 12 or newer |
| Connection | USB or Wi-Fi |
| USB cable | Data-capable USB/Lightning/USB-C cable |
| Wi-Fi | Both devices need to be on the same local network |
| Mac permissions | Screen Recording and Accessibility |
| iPhone/iPad permission | Local Network permission for Wi-Fi connections |
| Mac-to-Mac wired connection | Thunderbolt, Ethernet or compatible USB-C data connection |
You May Like: FluidVoice: AI Voice-to-Text Dictation App for macOS
Installation and Usage
- Download dmg file for the Primary Mac you want to use as your main computer.
- Open the dmg file and move OpenDisplay to the Applications folder.
- If you’re using an iPhone or iPad as the second display, install the OpenDisplay iOS/iPadOS app through Apple app store.
- Open OpenDisplay on your Mac and launch the app on your iPhone or iPad.
- For USB, connect the two devices with a data-capable cable and follow any permission prompts that appear.
- For Wi-Fi, make sure both devices are connected to the same network and allow Local Network access when requested.
- Give OpenDisplay Screen Recording and Accessibility permissions on the Mac when macOS asks.
- Choose your iPhone or iPad from the connection menu and start the display.
- If you’re using another Mac as the display, install OpenDisplayReceiver dmg on that Mac instead and open the receiver before connecting from the main Mac.
Download
OpenDisplay has separate downloads depending on which device you want to use as the second display.
- Primary Mac dmg is for Mac whose screen you want to extend.
- Secondary Mac dmg is for an older Mac as the second display.
- For iPhone or iPad, download the OpenDisplay receiver app from the Apple App Store and install it on the device you want to use as the second display.
Choose the download that matches your setup, then connect the devices over USB or Wi-Fi.
Visit the Official Release Page of the Project for Other versions.
Give that old iPhone another job
A second monitor doesn’t always have to mean buying another monitor.
If you already have an iPhone, iPad or old Mac that isn’t doing much, OpenDisplay gives it a useful second life.
It’s not going to replace a large external monitor for everyone. A phone screen is still a phone screen.
But for a terminal, reference document, chat window or anything else you want to keep out of the way, having an extra Retina display sitting beside your Mac can be genuinely useful.
And the fact that it works without a subscription, account or proprietary dongle makes the idea even better.
Sometimes the best second monitor is the one you already own.